Introduction to road heating steps
Installation steps
-
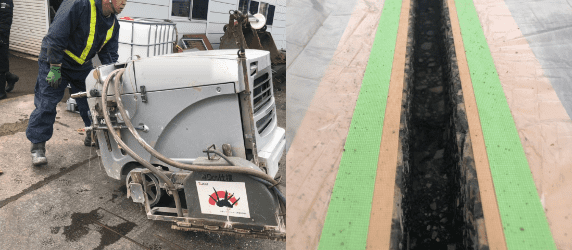
- STEP 1
Cut concrete bed
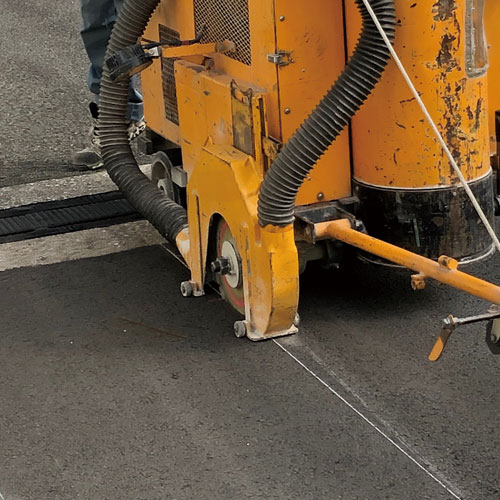
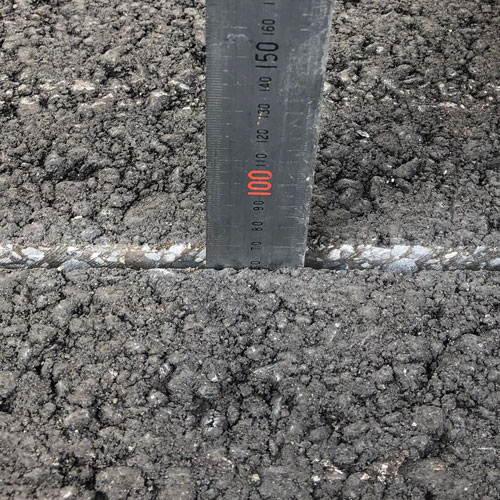
- First a 9mm wide x 7cm deep groove is cut into the concrete using a concrete cutter.
- STEP 1
-
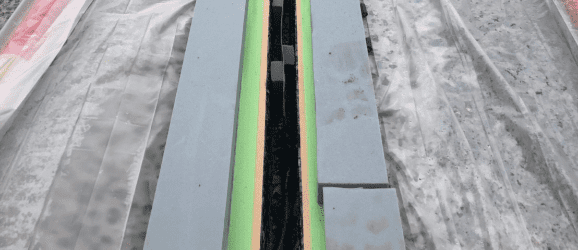
- STEP 2
Curing
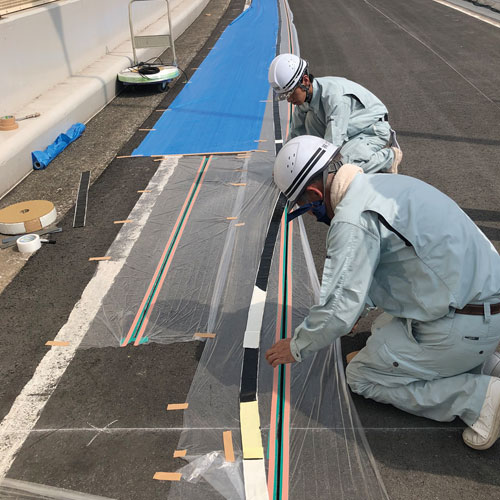
- The area around the cut is first cured so that only the cut area is affected.
- STEP 2
-
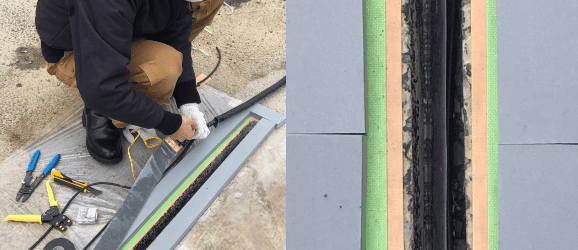
- STEP 3
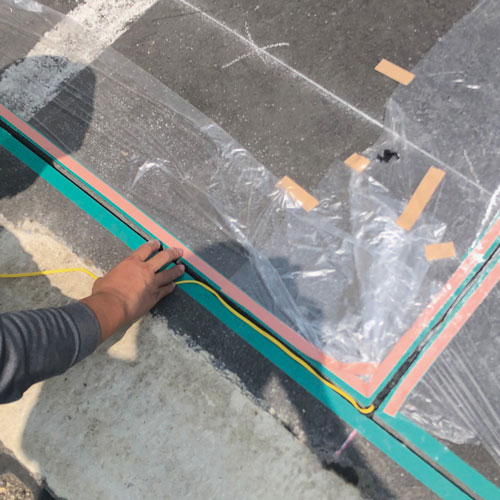
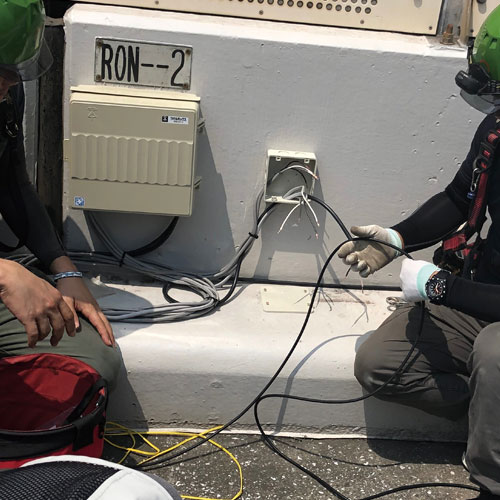
Insert thermal sheet and connect to electrical lines
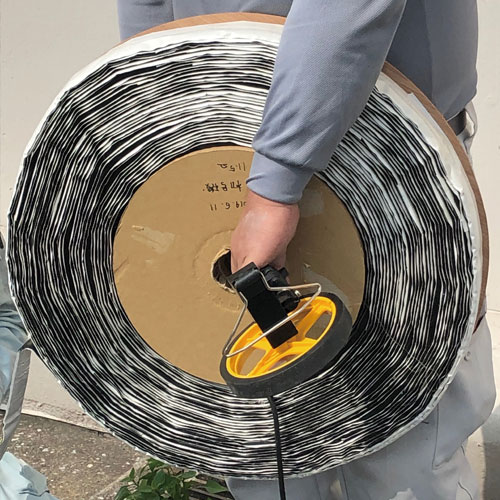
- Once preparations are complete, the thermal sheet is laid and connected to the electrical lines.
- STEP 3
-
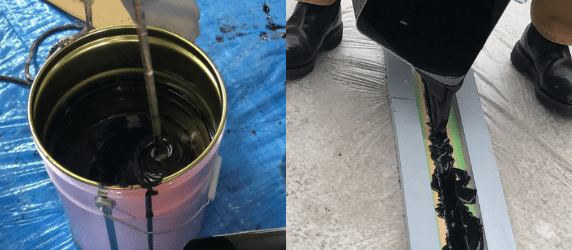
- STEP 4
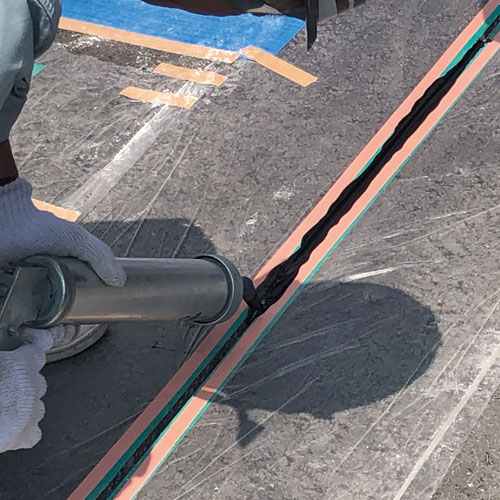
Fill with sealant
- Next, it is filled with a sealant so that the TAIYO SHEET is completely waterproofed.
- STEP 4
-
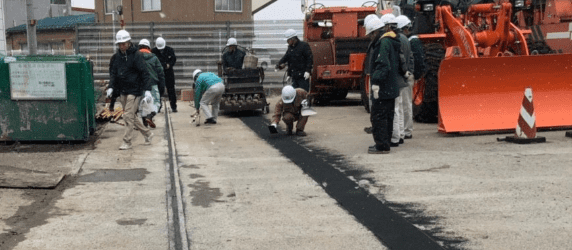
- STEP 5
Remove curing and clean up
- The pumice sand is swept away after the curing is removed to finish the job.
- STEP 5
Example of installation
Photos of TAIYO SHEET being installed
- First, a 9mm wide x 7cm deep groove is cut into the asphalt road with a cutter. Then, the TAIYO SHEET is embedded and waterproofed.

Asphalt bed 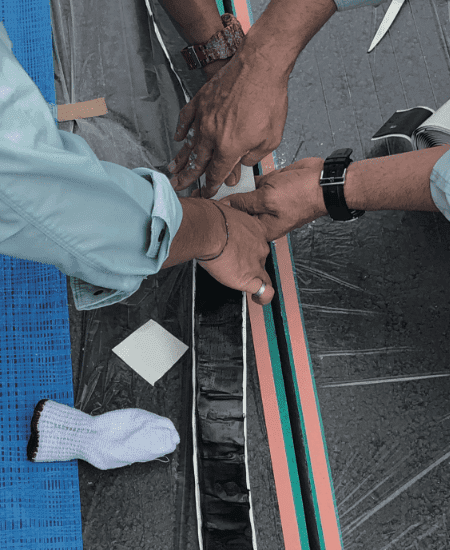
TAIYO SHEET wiring Temperature changes using thermography
- Once the TAIYO SHEET was installed, it took just 30 minutes from start of heating to increase the temperature to 34.7℃
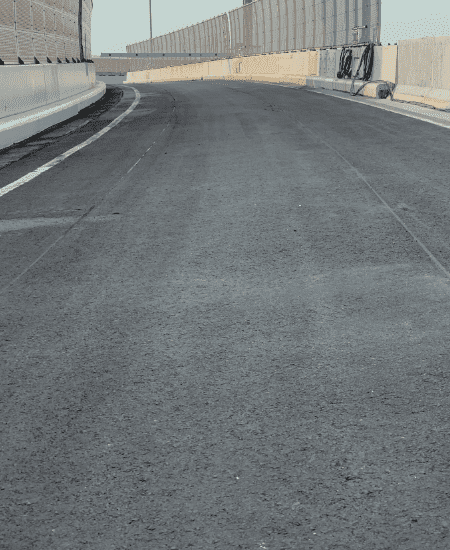
Work complete 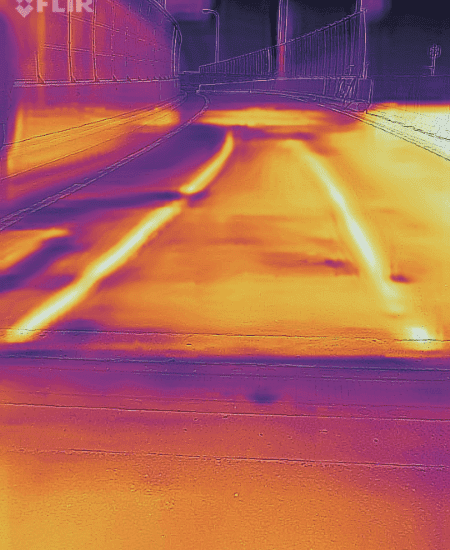
Speedy heating Results of road heating
- After road heating work was completed, 60cm of snow were on the road 24 hours later. The area of the road with TAIYO SHEET removed 60cm of snow on either side (right/left) of the sheet for a total of 120cm area.
-
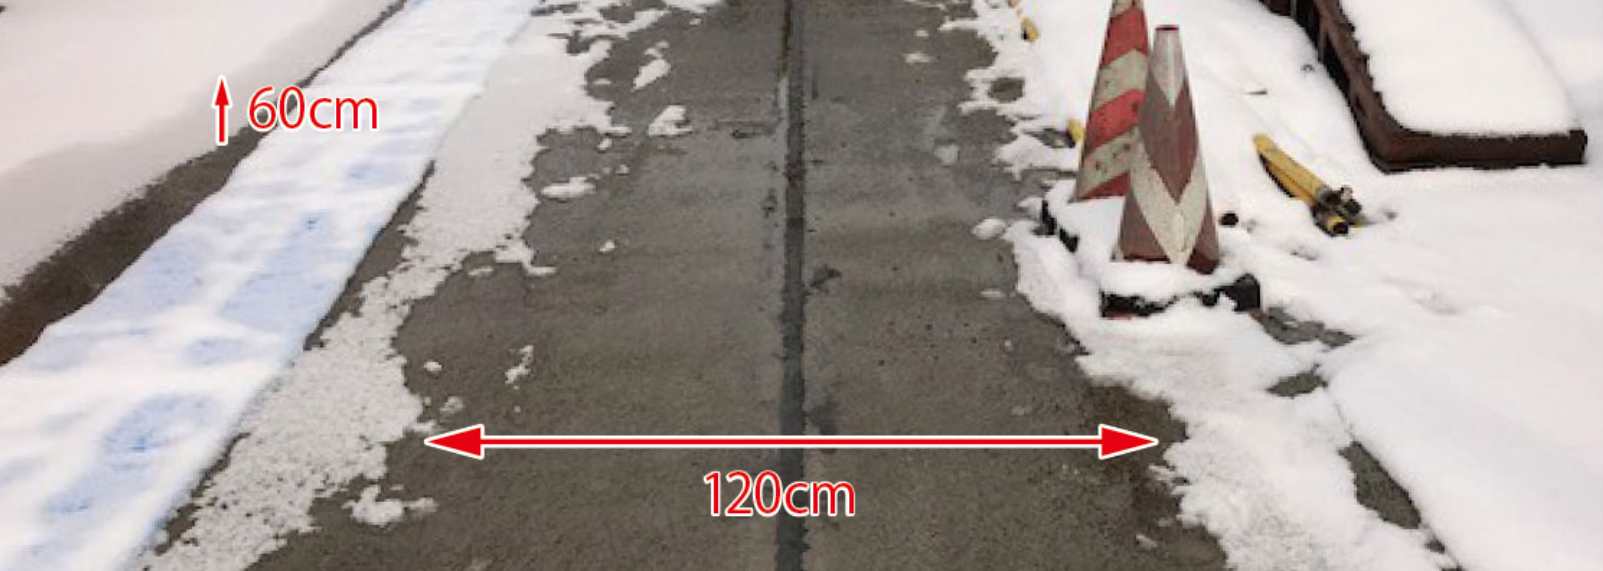
Area of snow removal after TAIYO SHEET road heating installation was complete
Photos from a fixed camera (Niigata Prefecture)
-
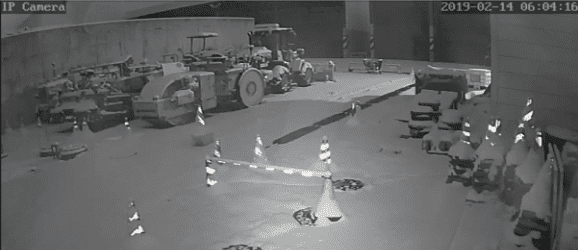
6 am -
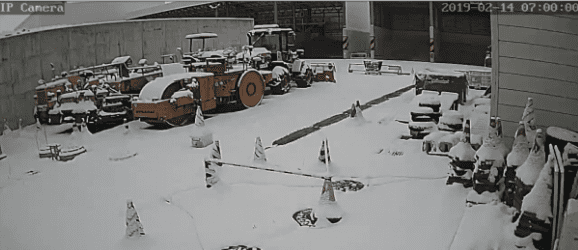
7 am -
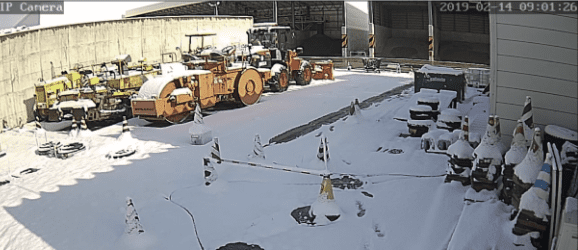
9am -
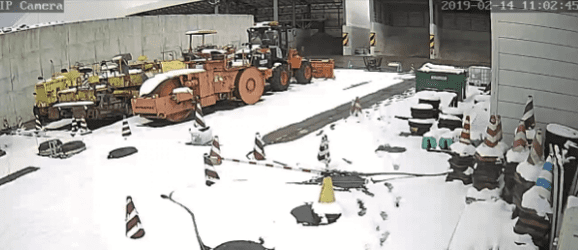
11am -
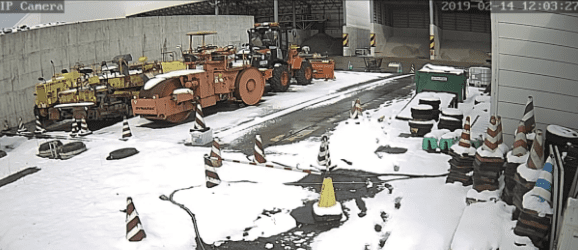
12 noon -
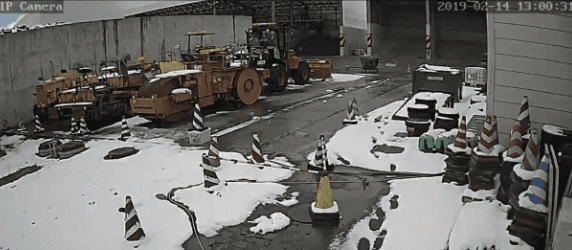
1pm
Testing on the Tokyo Expressway
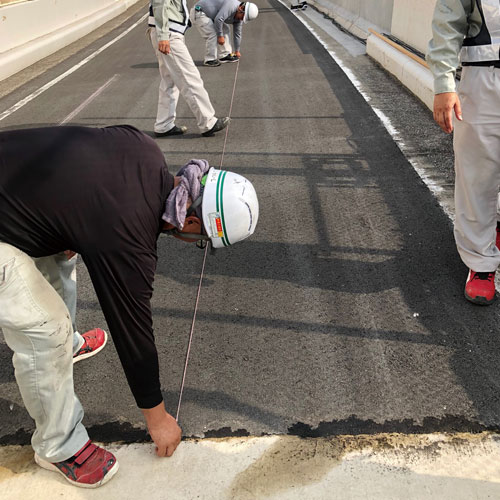
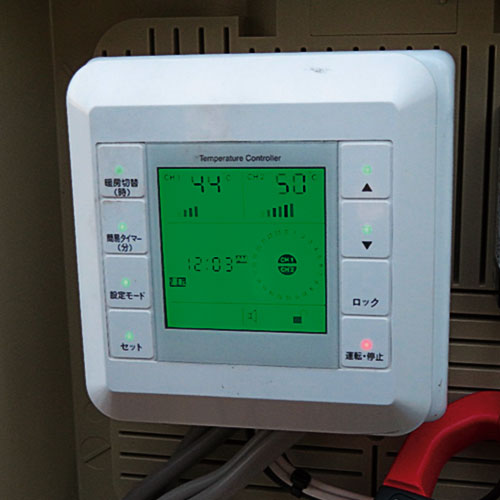
We tested TAIYO SHEET on a maintenance road of the Tokyo Expressway. It is verified that TAIYO SHEET reduced installation time and sped up the work, as well as provided adequate heating effect.
- 1
- 2
- 3
- 4
- 5
- 6
- 7
- 8
- 9
-
Connecting to a power source & electricity rates

-
coming soon
Case studies


 048-863-8948